hello.vectronic@gmail.com

The plan for Flowscripter has always included the following goals:

  • Use TypeScript.
  • Use dynamic import of ES modules.
  • Rely on existing module dependency directives to auto-install plugin dependencies i.e. not inventing a new module dependency framework.
  • Providing Flowscripter as a single downloadable binary with no need for pre-installed dependencies e.g. Node.js, ffmpeg.
  • Support native extensions written in Rust.

hello.vectronic@gmail.com

A bugix version of Legify is available at:

https://github.com/vectronic/freecad-legify-macros/releases/tag/v0.2.2

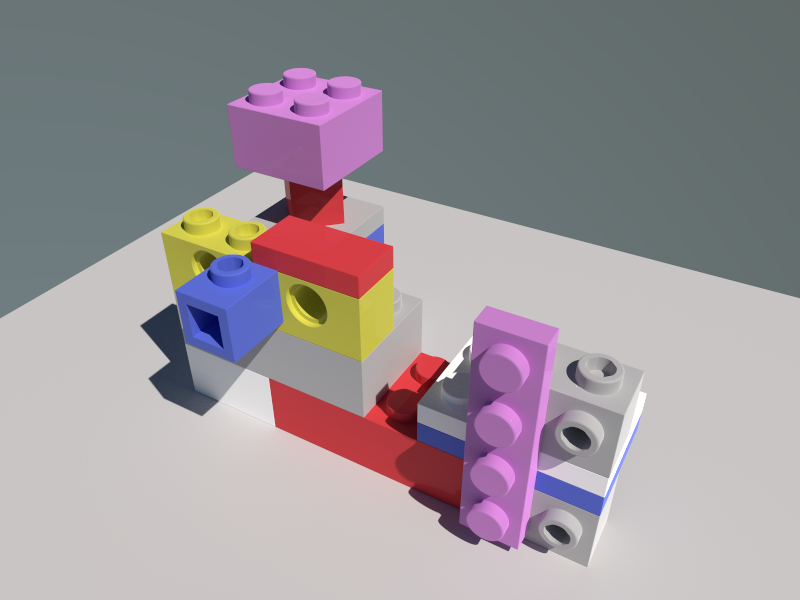
It provides improvements to measurements and rendering based on using the macro generated parts in Assembly V4 and TechDraw workbenches.

Example TechDraw diagrams for individual parts and assemblies are provided below.


Last year I provided some FFmpeg patches to support ICC Profiles stored within MP4 (and MOV) files.

The patches were recently merged into master and will therefore be available in the next FFmpeg release.

\( ゚ヮ゚)/

ICC profiles can be stored in MOV/MP4 sample descriptor colour information atoms. The relevant extract from the ISO standard is:


hello.vectronic@gmail.com

The latest and most likely last version of Legify is available at:

https://github.com/vectronic/freecad-legify-macros/releases/tag/v0.2.0

I’ve achieved my goals with this project, which were to:

  • Get to grips with FreeCAD and parametric modelling concepts: sketches, constraints, datum planes etc.
  • Learn Python and use it for FreeCAD scripting

I’m now moving on to learn about assemblies and technical drawings.


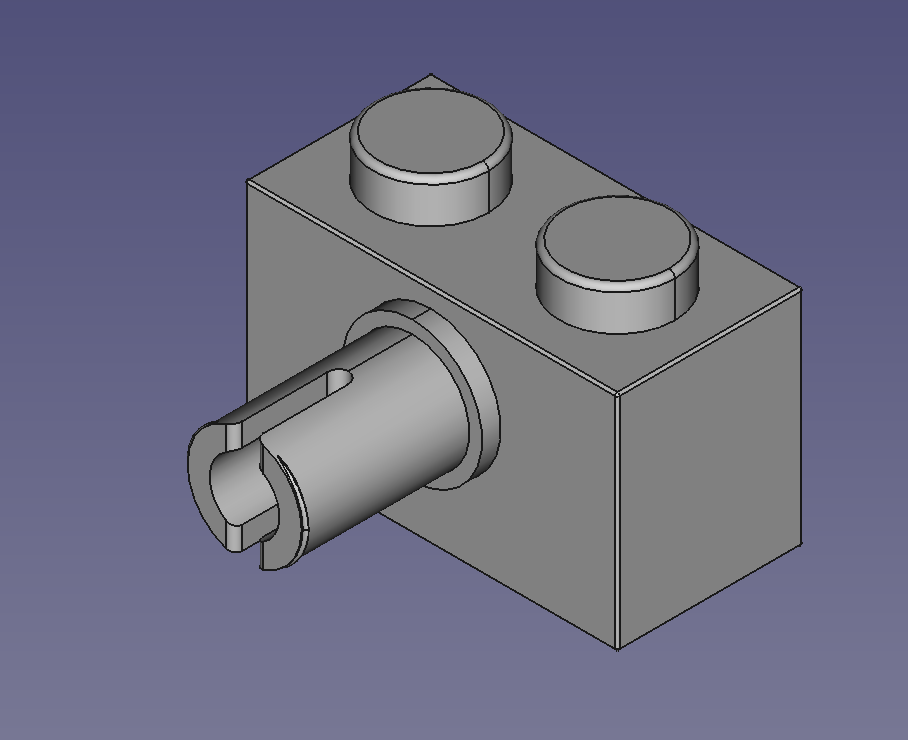
As part of my efforts to accurately model Lego bricks, I need to visualise the finer features of Lego pieces and measure various dimensions accurately.


Googling for “excel timecode” didn’t produce any results which met my requirements:

  • support 29.97 drop-frame SMPTE timecode
  • calculate a duration given an in-point and out-point
  • provide conversion to and from timecode, frame count and microseconds
  • not based on Excel macros so that the solution can be easily redistributed

Because of this, I am pleased to present a solution which does meet the above requirements:

https://github.com/vectronic/timecode-spreadsheet


I have moved on from learning basic part design and scripting in FreeCAD and now want to tackle assemblies.

Following on from my previous post, Building FreeCAD with 3DConnexion Support on macOS using Conda, this post presents similar instructions for building the very promising Assembly3 Workbench for FreeCAD.

Again, I wanted to use the latest source AND use a 3DConnexion SpaceMouse on a MacBook Pro. Using Conda and the Conda Forge feedstock for FreeCAD makes this a scriptable, repeatable process.


My first serious microscopic soldering project took place over the weekend!

An Intel NUC had been prised open during a baggage inspection. Thanks TSA!

As a result the fan connector had been torn from the PCB.

I’m not saying it was a nicely executed repair, but the NUC does now work… Identified areas for improvement:

  • an improved solder flux situation: my 0.2mm solder didn’t want to flow onto anything, the thicker solder dumped a pool of flux eveywhere.
  • an improved glueing mechanism: again, I ended up with a pool of super glue…
  • improved software settings for the microscope’s USB camera: the photos don’t do justice to the stunning clarity I had through the eye pieces.
  • a PCB cleaning mechanism.

Presented here is a somewhat terse step-by-step guide to building FreeCAD from source using Conda and the Conda Forge feedstock for FreeCAD.

I need to do this to ensure I can run the latest FreeCAD code AND use a 3DConnexion SpaceMouse on a MacBook Pro.


hello.vectronic@gmail.com

I finished the DIY fit-out of my lab/office/study late last year.

A lot of planning and design was done before I started cutting into flat-pack furniture with the circular saw.

I’m very pleased with the result. This is a good thing as I’ll be spending a significant portion of my life for the coming years here.


hello.vectronic@gmail.com

I’ve been developing a FreeCAD macro for a while with the following aims:

  • Get to grips with FreeCAD and parametric modelling concepts: sketches, constraints, datum planes etc.
  • Learn Python and use it for FreeCAD scripting

To really push the boundaries, I challenged myself to use Python scripting in conjunction with the PartDesign workbench: I wanted to end up with a parametric model fully based on sketches and datum planes.


hello.vectronic@gmail.com

There are several limitations when referencing items in FreeCAD via Python script. This includes needing to reference Part items such as edges and faces by name, whilst the names are liable (and likely) to change each time the model is modified.

There are also a number of exposed native methods in the Python scripting layer which expect (rarely documented) integer based constants. In this post I collate what I’ve learnt about these constants for future reference.


Beyond simple scripts, FreeCAD macro development really benefits from using a Python IDE. My Python IDE of choice is PyCharm.

I have been able to setup the same Python environment with FreeCAD and PyCharm using this great project https://github.com/FreeCAD/FreeCAD_Conda.

This allows the same Python syntax and semantics to be applied (especially important when switching from Python 2 to Python 3). Unfortunately however, having code completion for FreeCAD modules still eludes me…


hello.vectronic@gmail.com

I’ve been developing a fairly complex macro for FreeCAD and wanted to re-run it after making code changes without having to restart FreeCAD.

I found this forum posting which gave me the answer.

This post was discussing reloading code for workbenches and GUI Commands (which has some caveats) and it also works perfectly for macros.


This website is built using Hugo and deployed on Netlify. I’ve been very happy with both of these technologies since deciding to use them. I did find the Hugo documentation somewhat impenetrable: all the information and detail is there, but it’s a steep ol’ curve for a newcomer. I’ve surmounted that curve and this site now features statically hosted blog comments - including moderation functionality.

This post aims to step through the required config and to point out some salient points.